Paper Organization: How to Get Your Files and Paperwork Under Control
When you buy something through our retail links, we may earn commission.
Filing and paper organization is a constant struggle for many of us. The paper just keeps on coming in— whether it’s for work, your kids’ school, or bills—and we feel like we can’t keep up. Ironically, as we move toward an increasingly “paperless” society, we often find our desks, offices, and countertops overtaken with papers.
Here are some thoughts on how to create a system where you can deal with paper as it comes in and avoid having it pile up, create a mess, or overwhelm you.
Create a filing system. This is the toughest step, mostly because it is time-consuming. Although it will take some front-end work, it will also help you stay organized moving forward. Determine where you will keep your files and whether you need to invest in a filing cabinet or filing rolling cart. If you’re dealing with a relatively small space or a small number of folders, perhaps smaller filing box might work for you. Or you could choose a combination of these solutions, keeping a portable filing box for the most current items or for your important documents. Living in a hurricane-prone area as we do, we like to have our important documents handy and portable in case we need to evacuate.
Categorize. Begin by making a list of all the categories of papers you have to organize. There are some categories that will be unique to you, your job, and your family, and others that are pretty common for all of us. Here are a few to get you started:
Financial/Taxes
Medical
Insurance
House-Related
School Records
Travel/Vacations
Auto
Important Documents
All of these can of course be subdivided into other categories. For example, financial can be subdivided into banking (savings/checking), investments, and so forth; insurance can be divided into health, dental, vision, etc.
Use sticky notes. Take out all of your files and papers and spread them out on large surfaces—we often use dining room tables and the floor—and place a sticky note on each pile, designating which category it belongs to. Once you have all of your piles labeled, it’s time to transfer them into hanging folders.
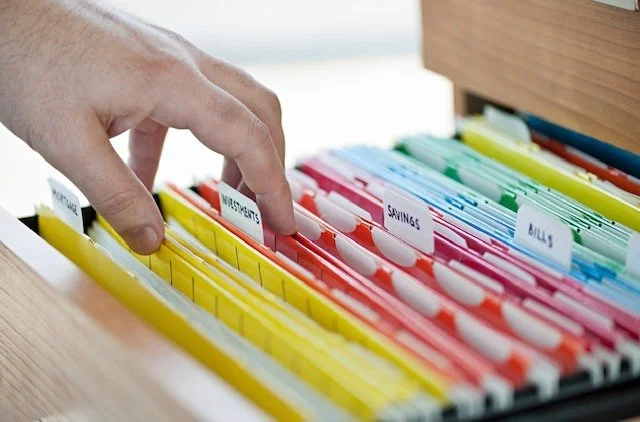
Color code using colored hanging folders. Color coding is optional, but if you have a lot of files and categories, it may be helpful. This seems complicated, but it’s fairly straightforward. Use one color for each category and avoid intermingling the colors. This way, if you’re looking for house manuals for example, you know to immediately go to the color set aside for house-related documents. There is a range of color options for hanging files available, but sometimes it’s simpler to buy a few boxes of the rainbow-colored sets and pull out the individual colors for the categories you’ve selected.
Print the tabs. Yes, you can handwrite your tabs, but it will look so much neater and will be easier to read if you use a labeler or print them with a tab template. You don’t have to invest a lot in a labeler—even the most basic, inexpensive versions like the Dymo LetraTag will do the trick when it comes to folder labeling; if you want something more versatile, go with our personal favorite, the Brother P-Touch.
Alphabetize (or don’t). At Sort, Store, and Style we are a house divided when it comes to alphabetizing. Fifty percent of us think it makes life easier, fifty percent believe it may not be worth the extra effort. If you’re up for it though, alphabetizing as you put things away could add one more layer of order to help you more quickly find what you need when you need it. Alternately, you can place your most frequently used files near the front and group related folders together.
For bonus points: Index. For our clients, we usually go the extra mile and list every folder we have made in each category, creating a searchable Excel spreadsheet that they can always consult in case they’re wondering where something was filed. This is definitely an extra effort, but if you have a lot of files or if multiple people may consult these files, it may also be worth it.
Deal with paper daily. Once you have a paper filing system in place, commit to dealing with your mail as it comes in. Immediately file away any new documents or papers you need to keep. A to-be-filed bin might also be a good staging tool if you’re pressed for time, but not if you keep putting off filing; if you wait too long, allowing it to overflow and get out of control, the bin defeats its own purpose. Instead, try to follow the “don’t put it down, put it away” strategy, or employ the OHIO (Only Handle It Once) Method.
Go paperless. These days, financial institutions offer you the option of going paperless, and rather than getting a physical statement each month, your statements are emailed and/or are available (along with all of your account history and statements) online. For most documents, this online history without a paper backup is sufficient. To minimize the amount of paperwork you’re storing and filing each month at home, log on to your account and opt into paperless statements whenever possible. On a related note, in most cases, the IRS recommends keeping only 3 years of tax returns, so you can likely shred older returns unless you have certain unique circumstances (see, for example, “How Long You Should Keep Tax Records” on Forbes.com and talk to your accountant about the best choice for you).
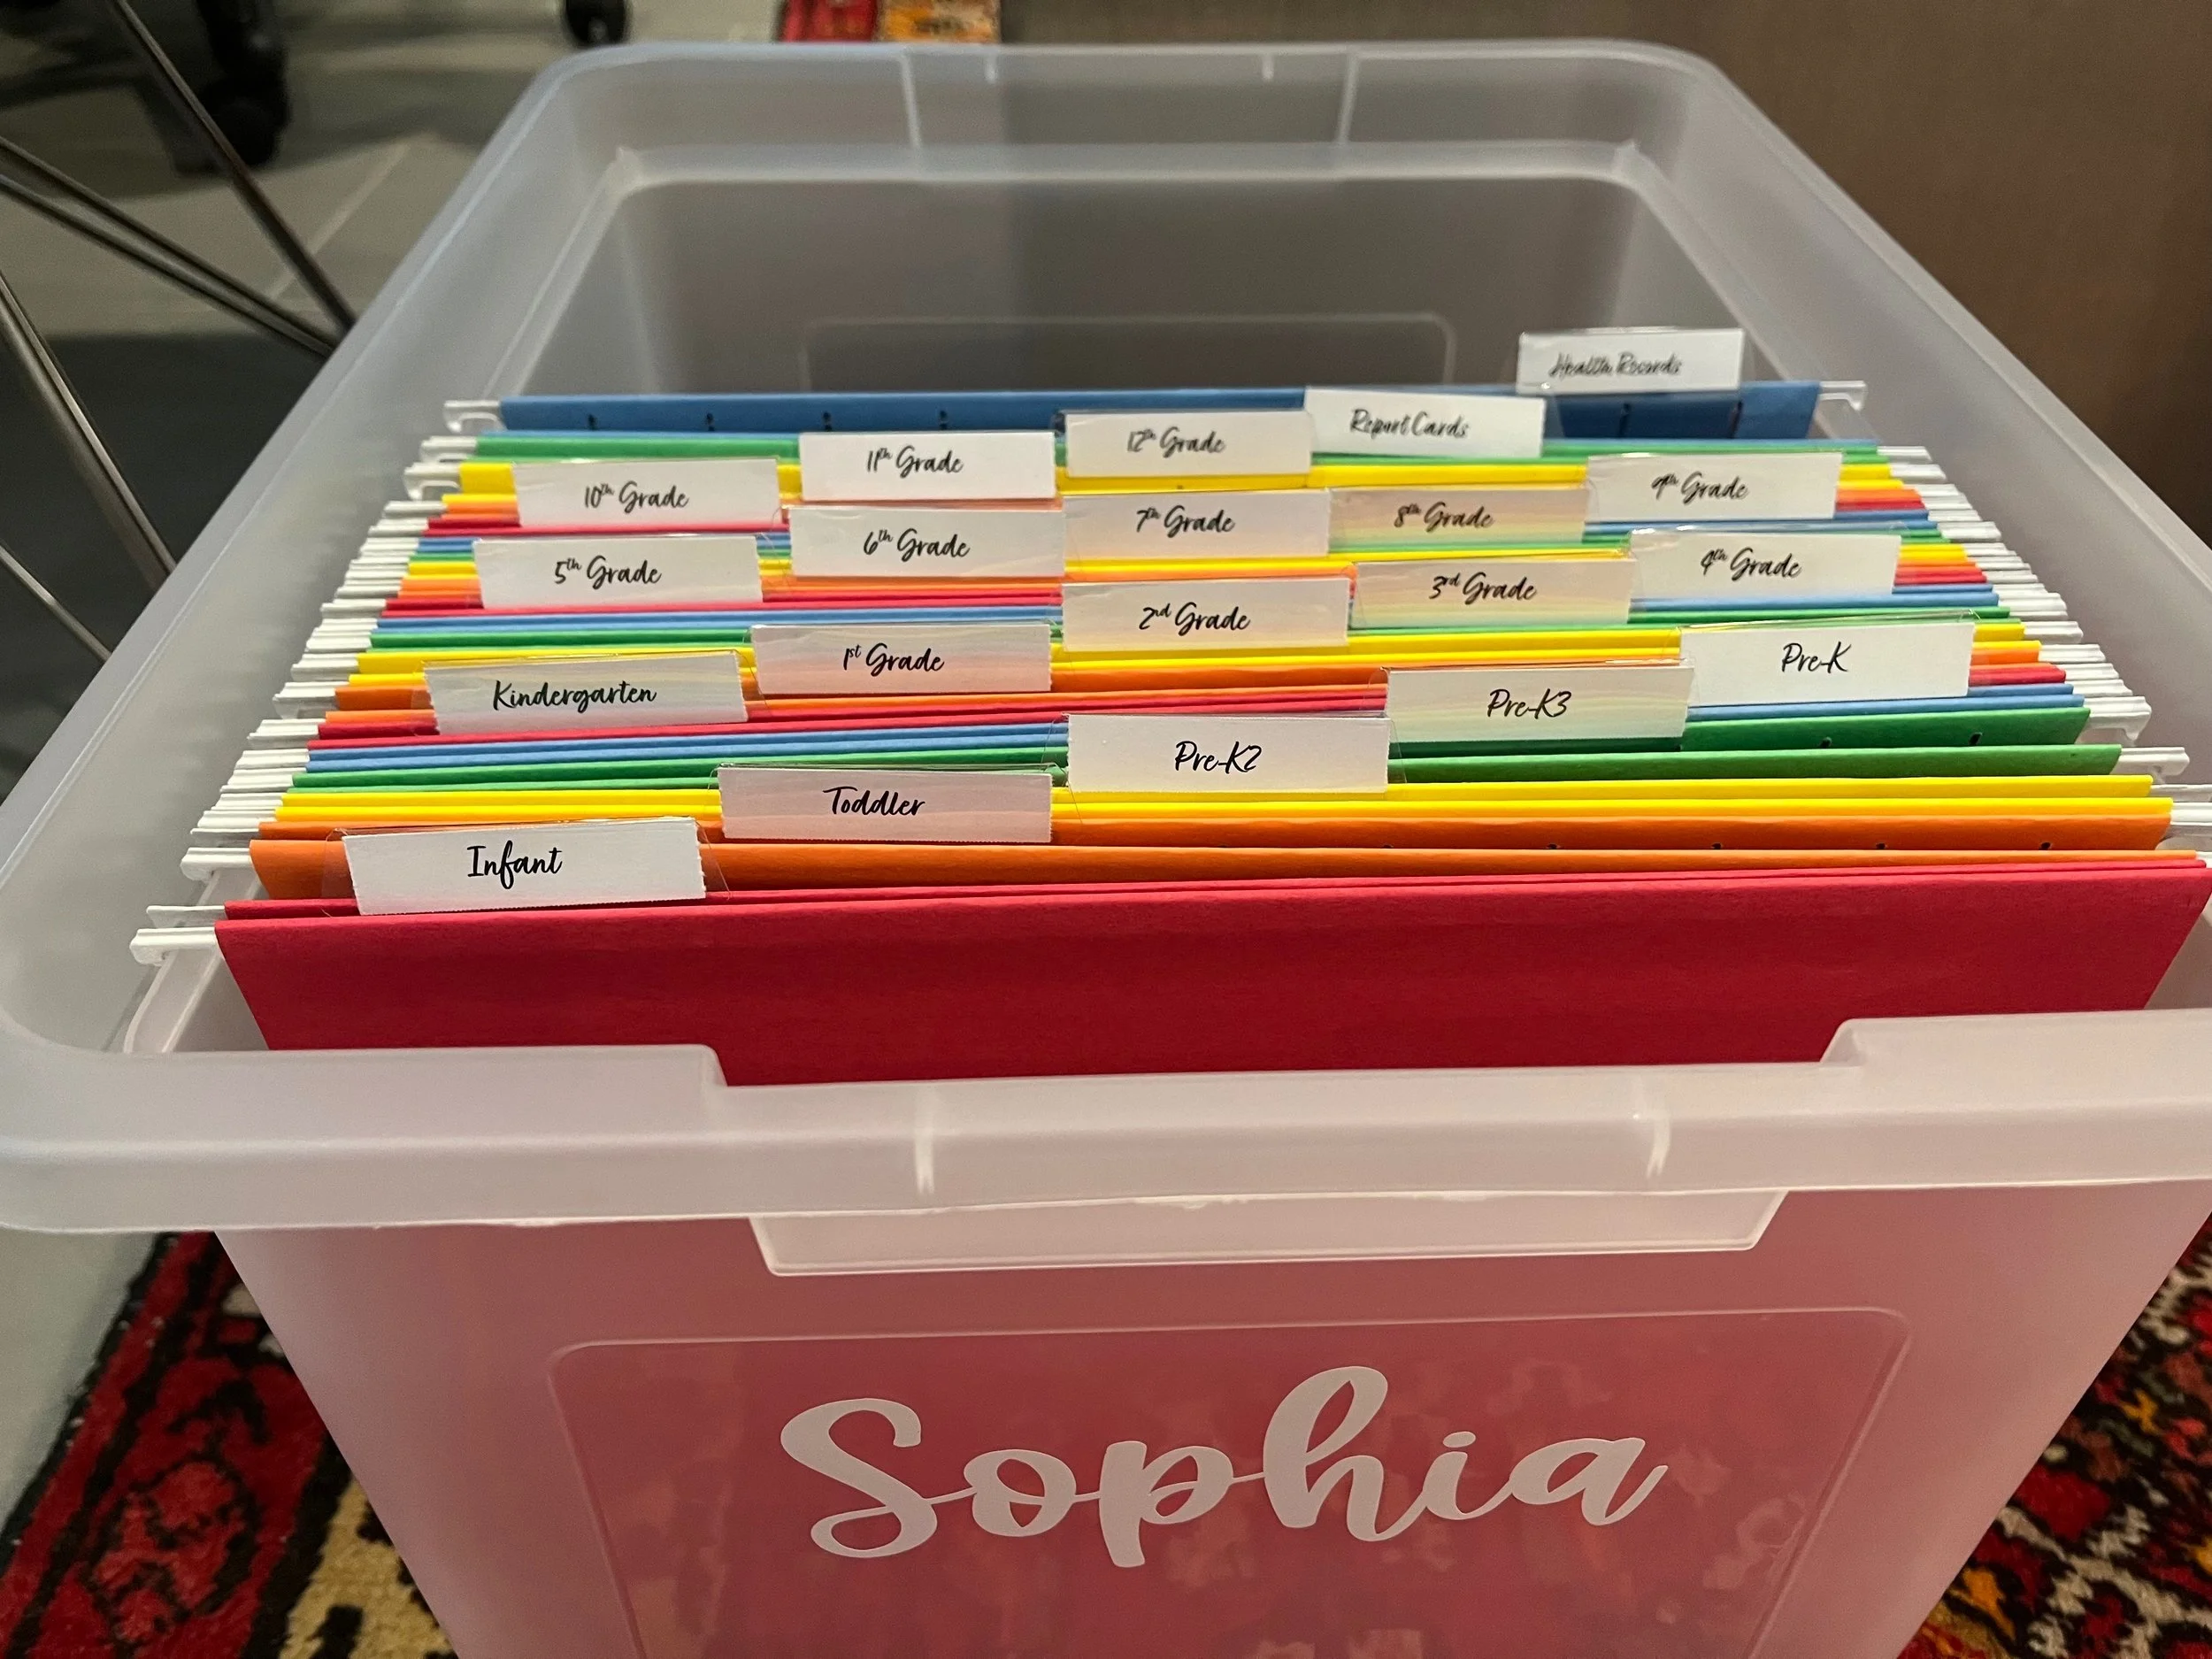
Have a strategy for kids’ papers. Consider creating or purchasing a memory and documents box for each child. With a folder labeled and devoted to each grade level, you’ll have a spot to file away all of the important papers—report cards, awards, class photos—as they come in. For school-related paperwork like flyers and notices, only hold on to what you need, recycle what you don’t, and have a to-do basket where you keep papers that you need to respond to, filing or recycling these as you’ve dealt with them.
Discard and recycle right away. Immediately discard junk mail or old work product that you no longer need into a recycle bin and empty it weekly. If you dispose of documents with sensitive, personal information, keep a second bin for papers to-be-shredded and set aside one day a month to perform this task. In the area where we live, the county recycling center offers free monthly shredding services. Take advantage of programs like these or, use your own shredder or go to places like Staples or the UPS store, where shredding services are available for a fee.
Bottom line: It gets harder before it gets easier, but it WILL get easier. Creating a paper filing and storage system may take you a few focused hours on a weekend and dealing with things as they come in may take a couple of devoted minutes daily, but once you have good systems and processes in place that you’re committed to maintaining, your mountain of paper will be a thing of the past and the effort level to keep up will be minimal.